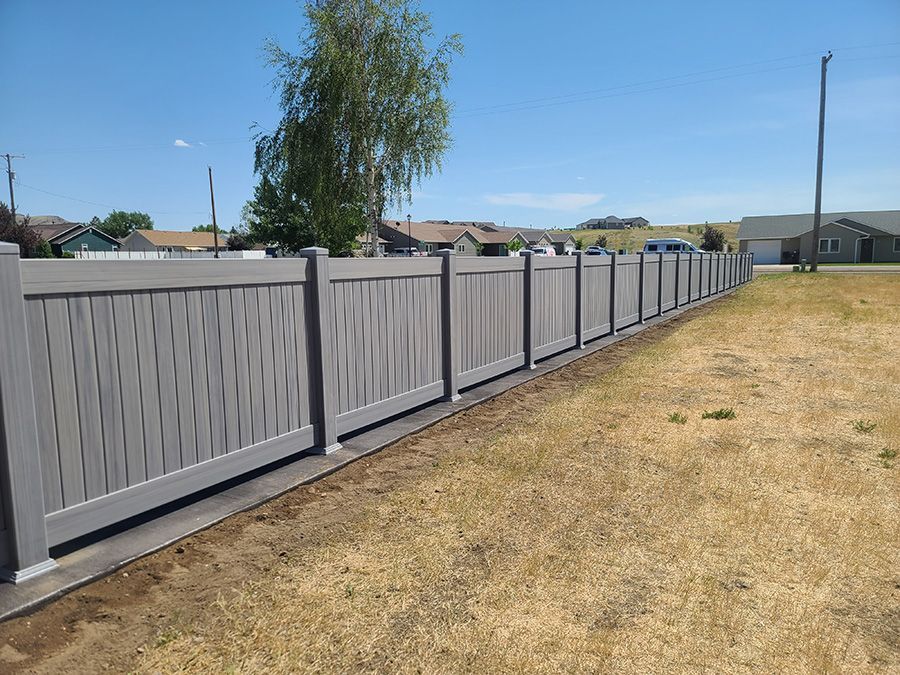
Excited to dive into a DIY farm fencing project? This complete guide covers everything you need to know to get started—from tools to common mistakes to avoid.
Benefits of DIY Fencing Projects
Building your own farm fence can be a satisfying and budget-friendly way to protect your property. Whether you’re securing animals or marking property lines, DIY farm fencing allows you save money on installation fees while gaining a sense of accomplishment. Plus, you can customize the fence to meet your personal needs and preferences.
However, a DIY fencing project requires careful planning and a good understanding of the steps involved. In this guide, we’ll walk you through everything you need to know to build a solid and durable farm fence from start to finish.
What You’ll Need to Get Started
Before you begin your DIY farm fencing project, it’s essential to gather the proper tools and materials. Here's a list of what you’ll need:
- Post Hole Digger or Auger: To dig holes for fence posts.
- Level: Ensures your posts are perfectly vertical.
- Hammer or Sledgehammer: For driving in the posts and securing wires.
- Measuring Tape: To measure distances accurately.
- Fence Posts: Wood, metal, or vinyl posts depending on your preference.
- Wire (or Mesh): Choose between barbed wire, woven wire, or electric fencing material based on your needs.
- Gates: To provide access points for vehicles or animals.
- Staples or Fasteners: To secure the wire to the posts.
- Post Concrete (Optional): For additional stability.
Make sure you have all these materials ready before starting the installation process to prevent interruptions.
Planning the Layout and Measuring Distances
Planning is crucial to a successful DIY farm fencing project. The first step is to figure out the layout of your fence. Here are some key considerations:
- Determine the Perimeter: Measure the area where you want the fence to be. Use your measuring tape and mark the perimeter with stakes or spray paint to mark the boundary.
- Post Spacing: Posts should typically be spaced 8 to 12 feet apart, depending on the type of fence you’re building and the material used. For barbed wire or electric fences, 8 feet is standard, while wooden fences may require closer spacing.
- Gate Placement: Choose the best locations for gates to ensure easy access for vehicles and livestock. Gates should be placed where there is enough space for them to open fully without obstruction.
Once you’ve mapped out the layout, recheck your measurements to ensure accuracy before proceeding to the next step.
How to Install Your DIY Fence
Now, let’s break down the steps to install your farm fence. Here’s a general guide to follow:
Step 1: Prepare the Ground
Using a post hole digger or auger, start digging the holes for the posts. The holes should be deep enough to ensure stability—about one-third the length of the post. Make sure the holes are spaced correctly according to your measurements.
Step 2: Install the Fence Posts
Place the posts into the holes, ensuring they are vertical using a level. If you’re using concrete, pour it into the hole to anchor the post in place. Let the concrete set before continuing. For added stability, you can backfill the hole with dirt if you’re not using concrete.
Step 3: Attach the Wire or Fencing Material
Once the posts are in place, it’s time to attach the wire. Start at one end and stretch the wire or mesh along the posts. Use staples or fasteners to secure the wire tightly to each post. If you’re using multiple rows of wire, make sure to keep the tension uniform across the entire fence.
Step 4: Hang the Gate
Install your gate at the designated spot. Depending on the type of gate, this step will vary, but most gates will be hung from metal brackets or hinges attached to the posts. Ensure the gate opens and closes easily and securely.
Once the fencing material is secured and the gate is in place, give everything a final inspection. Check for tightness and stability to ensure your fence will be long-lasting and safe.

Top Mistakes to Avoid in DIY Fencing
Even experienced DIYers can make mistakes during a farm fencing project. Here are some common issues to watch out for:
- Incorrect Post Spacing: Failing to space posts correctly can cause the fence to become weak and unstable. Always measure and mark post locations before digging.
- Poor Post Hole Depth: Posts that aren’t deep enough can shift over time. Make sure each post is installed securely, with at least one-third of its length in the ground.
- Not Using Proper Tools: Using improper tools can result in sloppy work. Invest in the right equipment to ensure precision and efficiency in your project.
- Ignoring Gate Alignment: A misaligned gate can make it difficult to open and close. Always check gate alignment before securing it in place.
By being mindful of these common mistakes, you can ensure that your DIY fence will stand the test of time.
Save Money on Farm Fencing
One of the biggest advantages of DIY farm fencing is the money saved. By handling the installation yourself, you avoid costly contractor fees. You also have more control over the materials you choose, allowing you to select affordable options that fit your budget. While DIY fencing requires time and effort, the savings you achieve can be significant, especially for larger properties.
With the right tools, materials, and planning, you can install a functional and durable fence that protects your farm without breaking the bank.